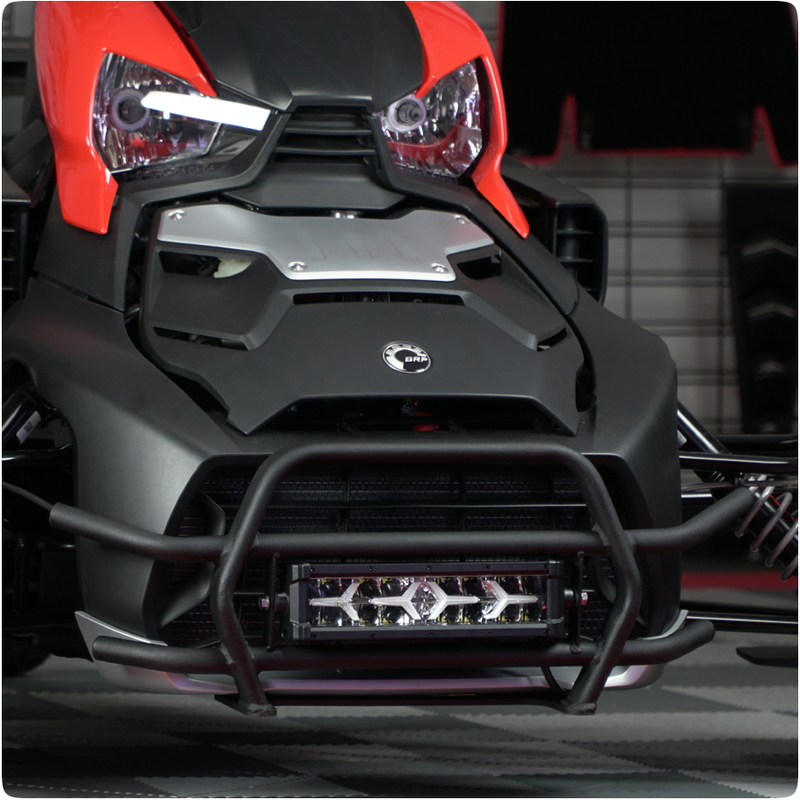
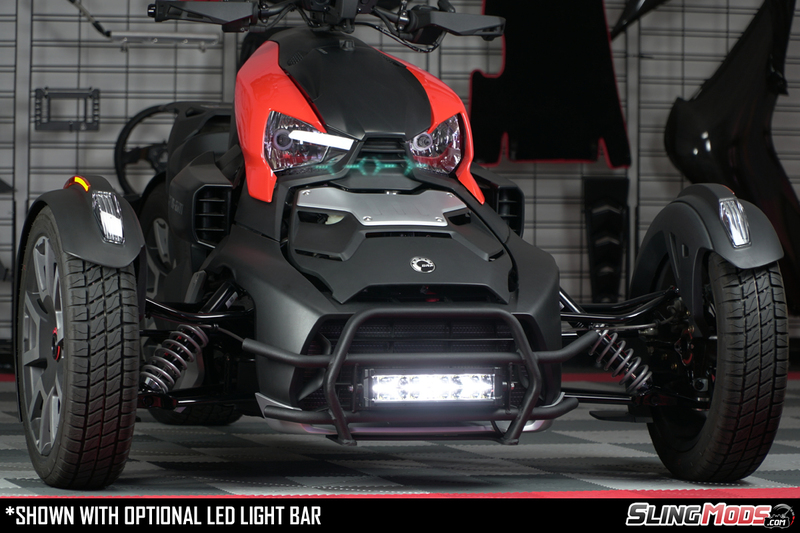
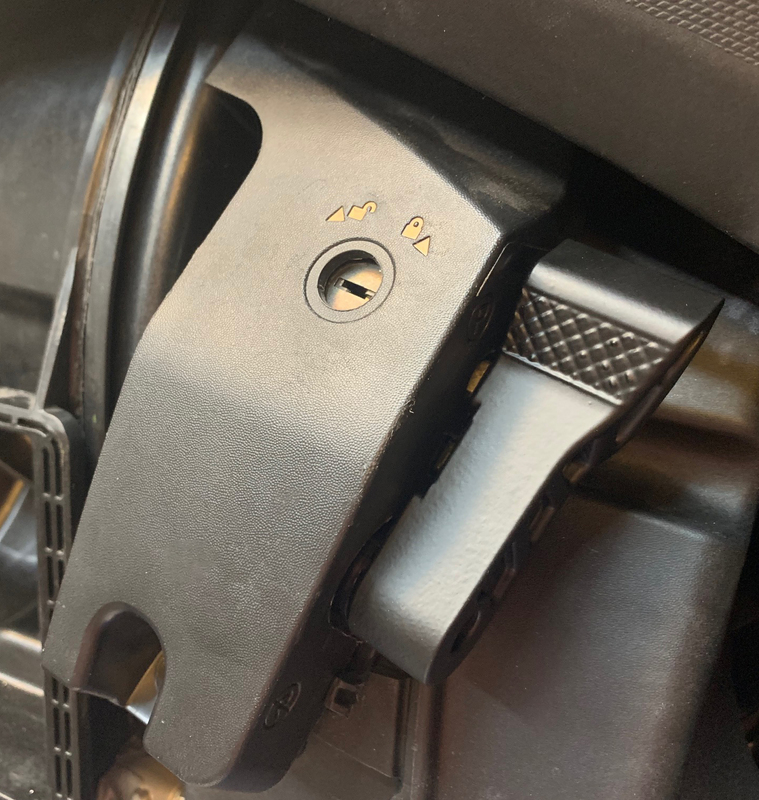
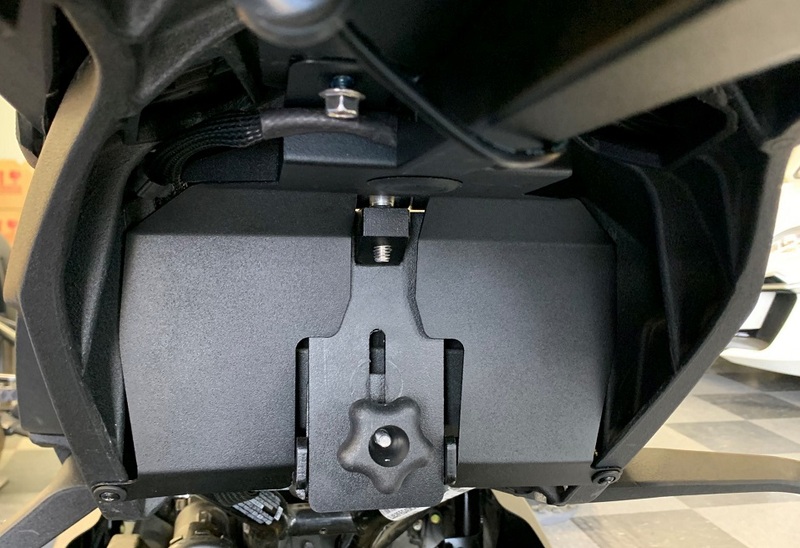
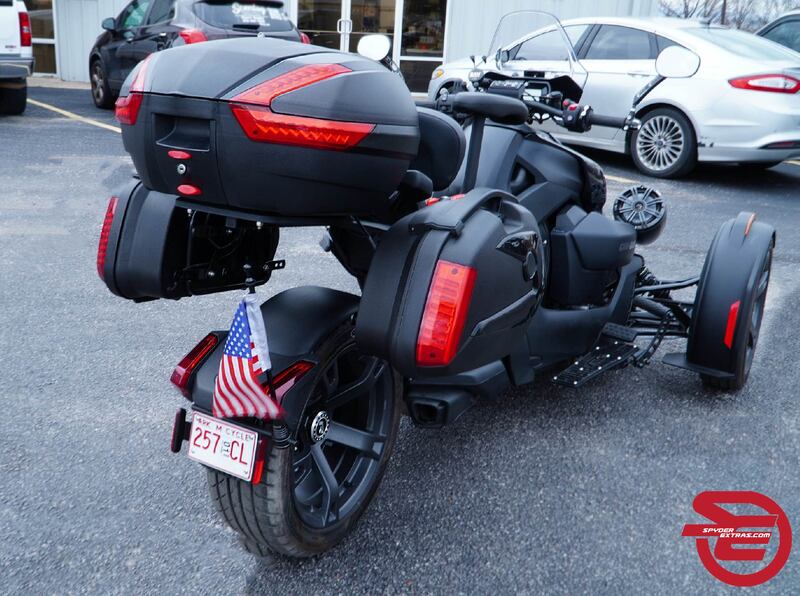
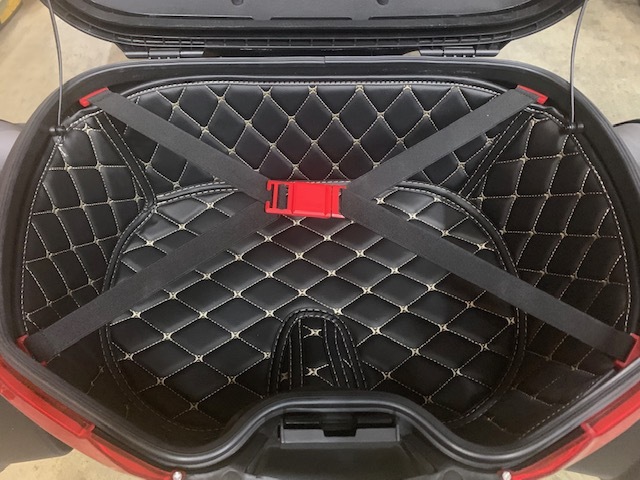
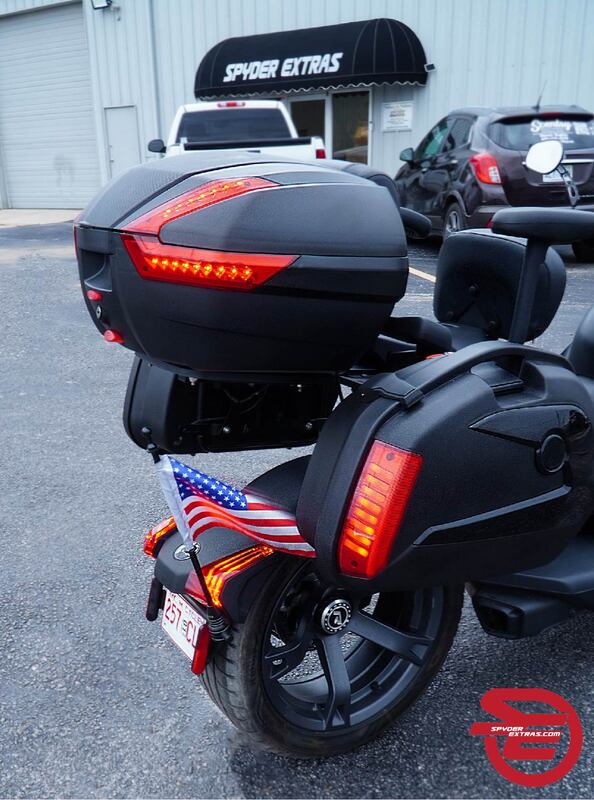
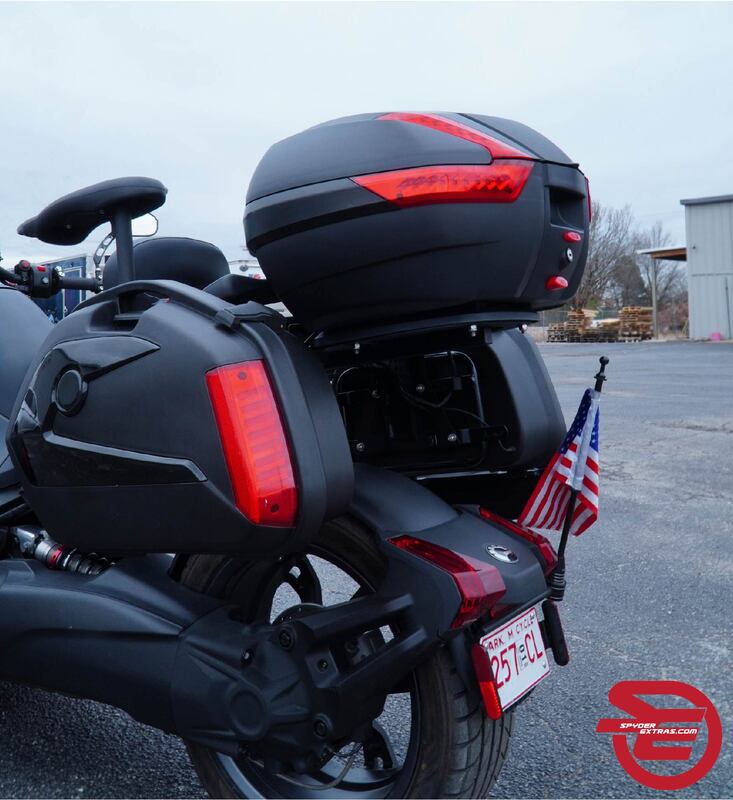
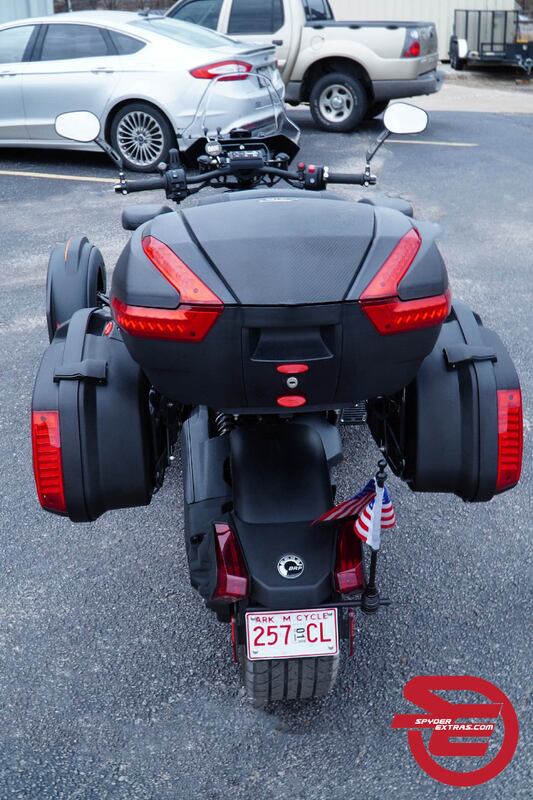
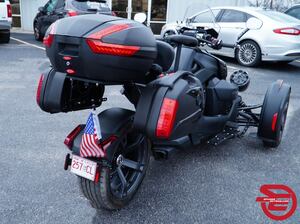
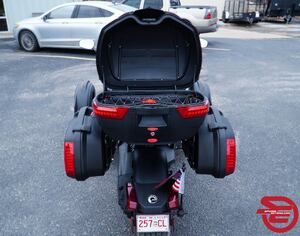
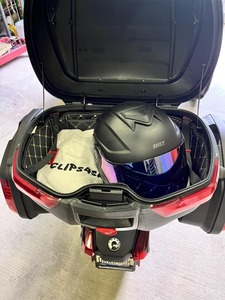
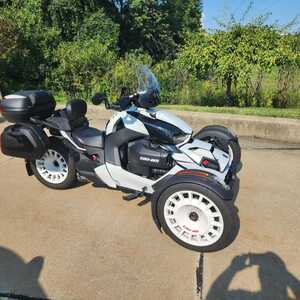
Just installed this set on my 21 Ryker Rally. First the good: the bags and trunk look great, the quality seems to be good as well. There are two different keys, one for the trunk, and one for the two saddle bags. The lights are very bright and will help drivers see you quite a bit better. All the luggage goes on and comes off very easily, as long as they're unlocked. The saddle bags won't release the key unless it's locked. So, no more forgetting to lock your bags. However, you can remove the key from the trunk without locking it first. The trunk and saddle bag brackts are super easy to install.
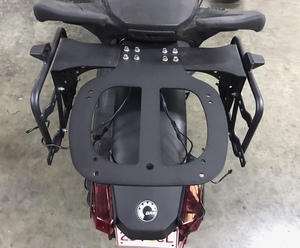
Second, tools and such: There are only 20 bolts, 16 washers, and 16 lock nuts. A 10mm socket, and an 11mm end wrench is all you need for those. A pair of wire cutters, or scissors will work for triming off the tails of the zip ties, and then a T20, T25, and a T30 torx bit with river to take off and reinstall the tail lights and the panel in between the two.
Third, the not so good: The wirig harness isn't super difficult to assemble, the instructions could be a bit confusing as far as putting the harness together, but if you read them closley you can get it figured out. Don't think the whole process is super easy because you watched the video. I believe there was quite a bit of editing done on the video. There is an instruction packet, but you might have to do a little trial and error to figure out how to run the wire harness in the left tail light and up past the pivot point. You also may want to get a few more zipties just to make sure everything is secure as far as the wiring goes. All in all, I think it took me about two hours total for the entire job.
Lastly, the best part: I had to do the job over the course of two evenings after work because the hardware kit was missing the 16 1/4"-20 lock nuts. I was pretty upset about this, because I had to wait a month and a half to ge them, and this is not a cheap accessory. I didn't feel like I should have to go to the hardware store and purchase the missing parts either. So this is what happened. I contacted Spyder Extras via the online contact form, then called the next morning. I actually spoke to a human being and not some "press one for.... " menu. The gentleman on the other end said he was sorry this happened and would get the missing locknuts in the mail, and have them overnighted to me. There was constant comunication throughout the day about the progress of the parts getting to me. I was given a tracking number, and the next day they were at my house and I was able to finish the job in about 30 minutes.
Overall, this is something that anyone shoud be able to do on there own in a few hours time. The product is pretty cool, the install isn't super difficult, the instructions leave a bit to be desired, but the customer service is top notch! I highly recommend this product, as the folks at Spyder Extras, fixed the issue of lack of storage on the Ryker. Great job guys!
- Josh Watson
The kit is great only problem is you can’t get replacement keys. I bought my set used and they only came with 1 set of keys. I contacted the company and even with the numbers on the keys you can’t get replacements. I’ve contacted car places and they can’t duplicate either. Should change the way they do keys so you can make spare keys.
- Danielle
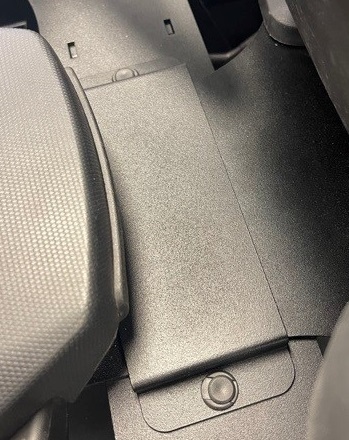
Looks great kinda easy install. After sales support team awesome, production team useless. Looks great but has a flawed locking mechanism. Center top doesn’t lock to bike can be removed with a press even in locked position. Looks really good though
- Robert